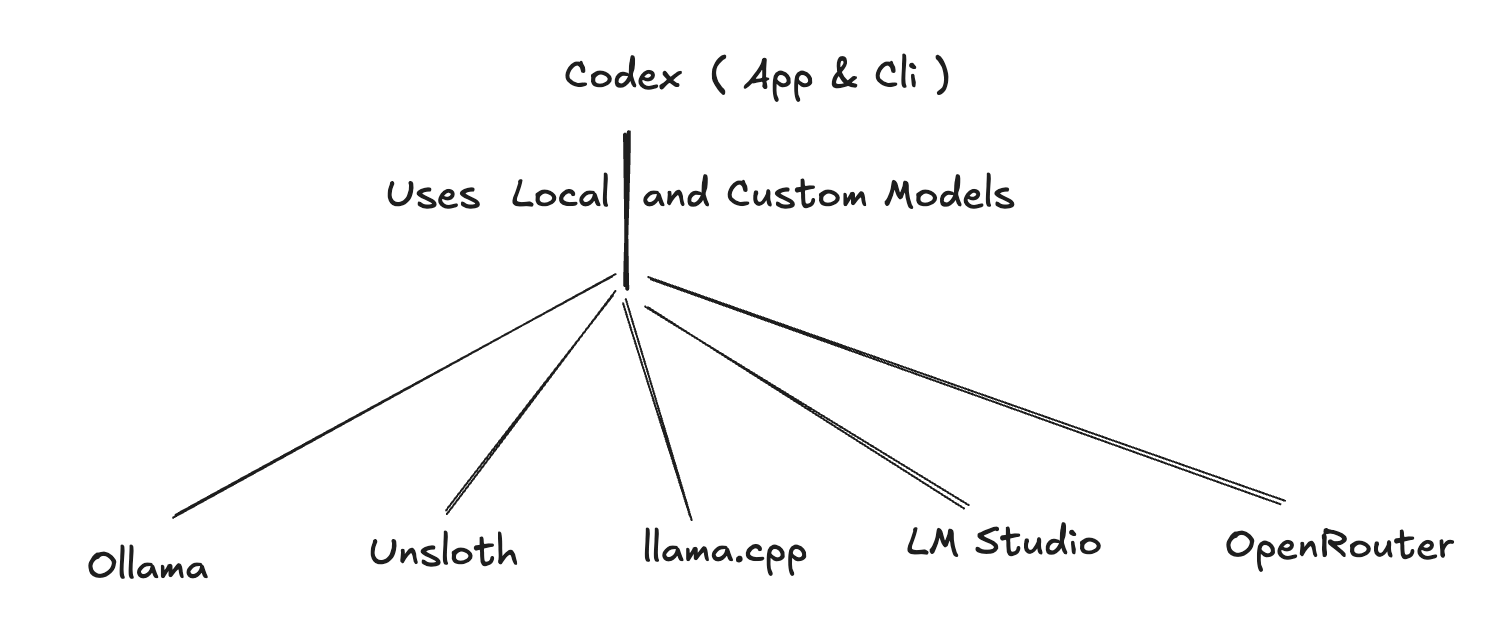
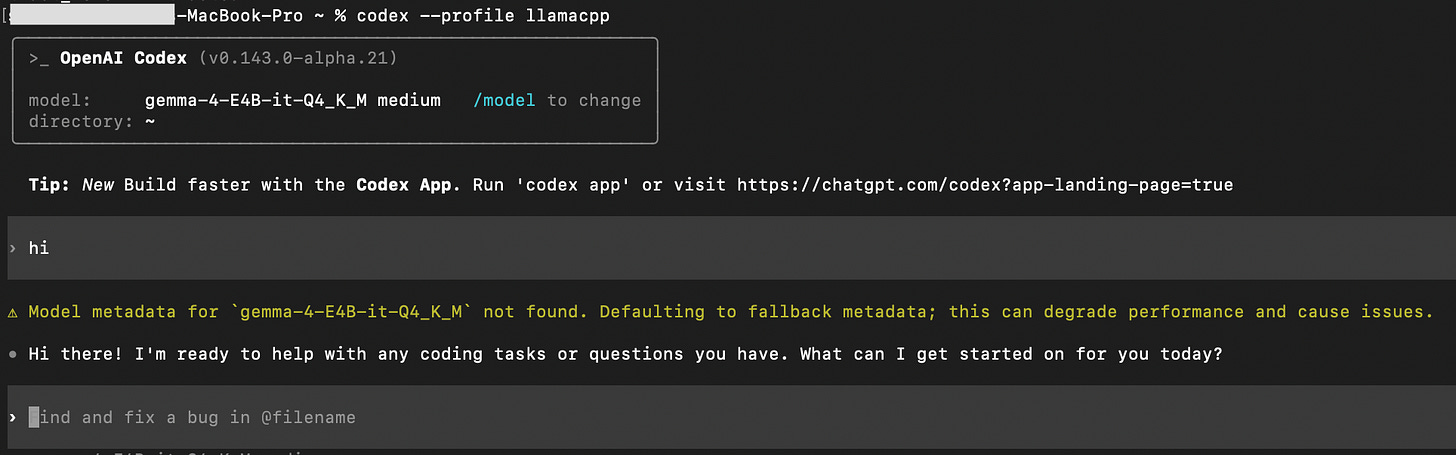
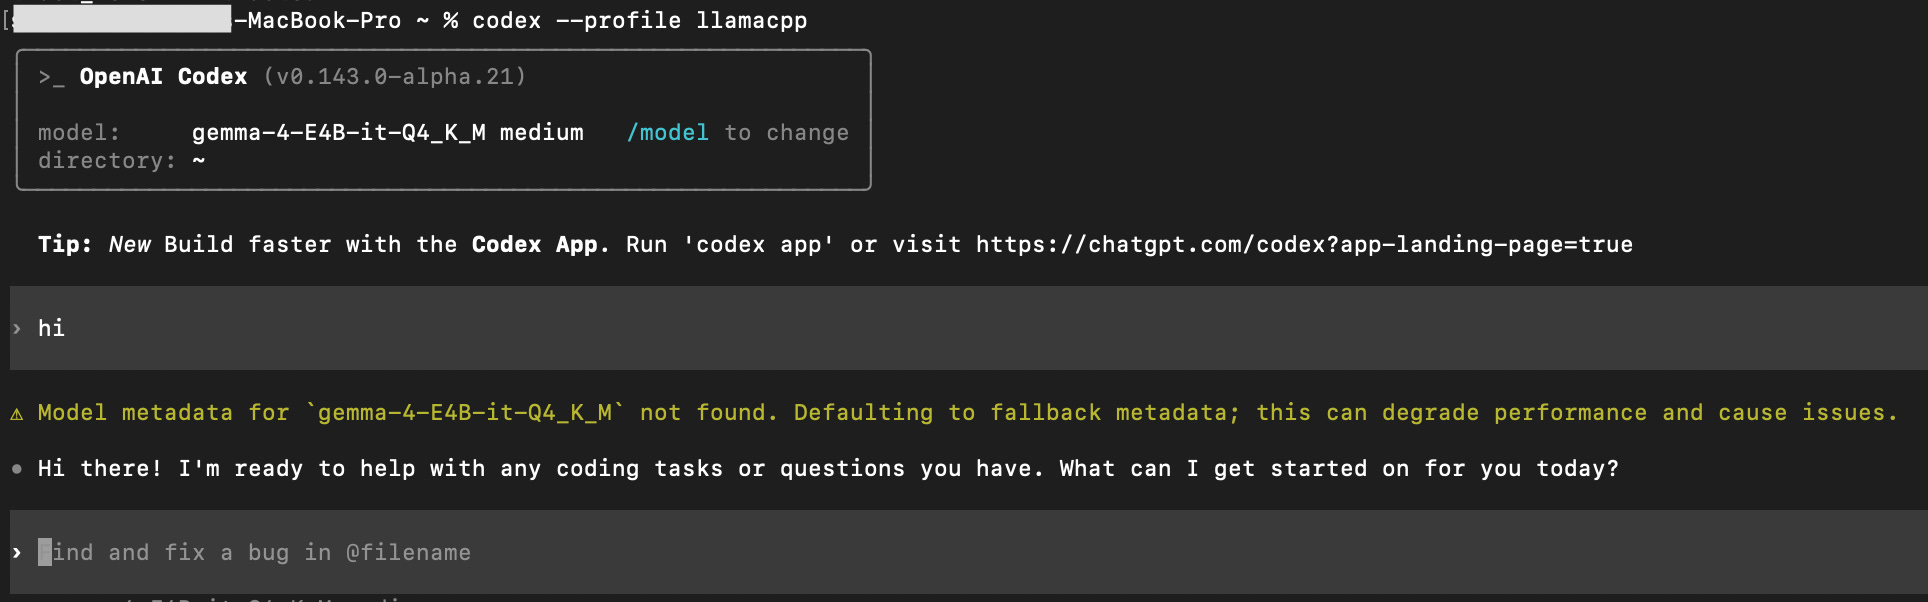
Codex is not locked to OpenAI’s cloud models. It can connect to almost any model out there. You can connect a local model running on your own machine, or point it to other models from different providers.
Nowadays, most coding agents like Claude Code and Codex support custom models. That opens up options. You could choose a model based on cost, privacy, or just wanting to try something new.
In this guide, we will cover:
Codex App and CLI
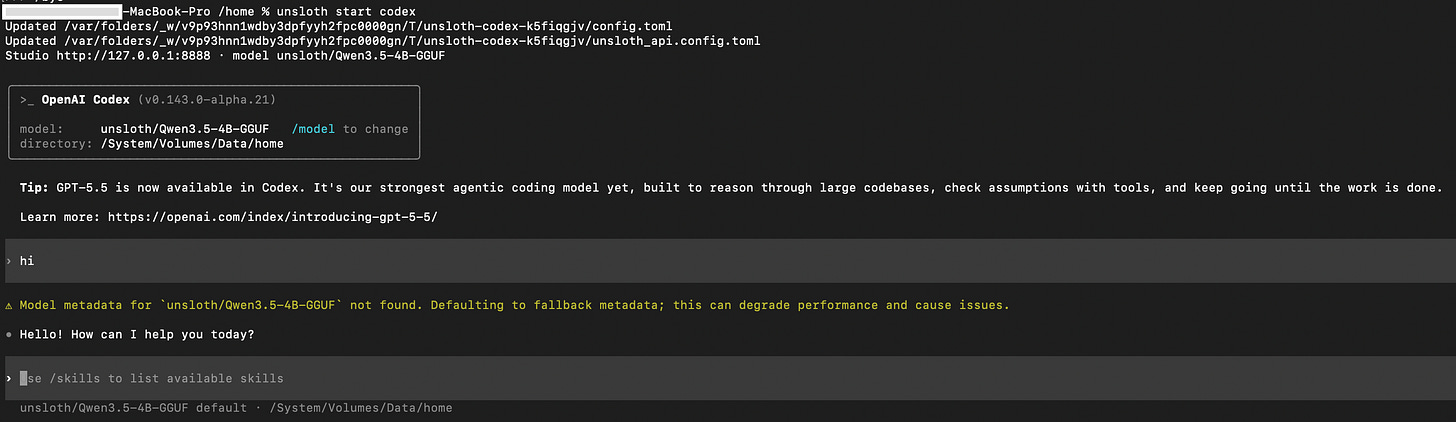
Connect Local Models in Codex through Ollama, LM Studio, Unsloth, and llama.cpp
Connect Custom Models in Codex through OpenRouter
Four points to remember while integrating custom models
Dev Shorts is a reader-supported publication. To receive new posts and support my work, consider becoming a free or paid subscriber.
1. Codex App and CLI
OpenAI ships Codex as a desktop app and a CLI. Both let you bring your own model. The desktop app gives you a full interface, multi-agent runs, worktrees, and an in-app browser. The CLI runs right in your terminal.
2. Connect Local Models in Codex through Ollama, LM Studio, Unsloth, and llama.cpp
There are a few ways to run a model on your own machine and connect it to Codex.
Ollama is the easiest place to start, so we will begin there.
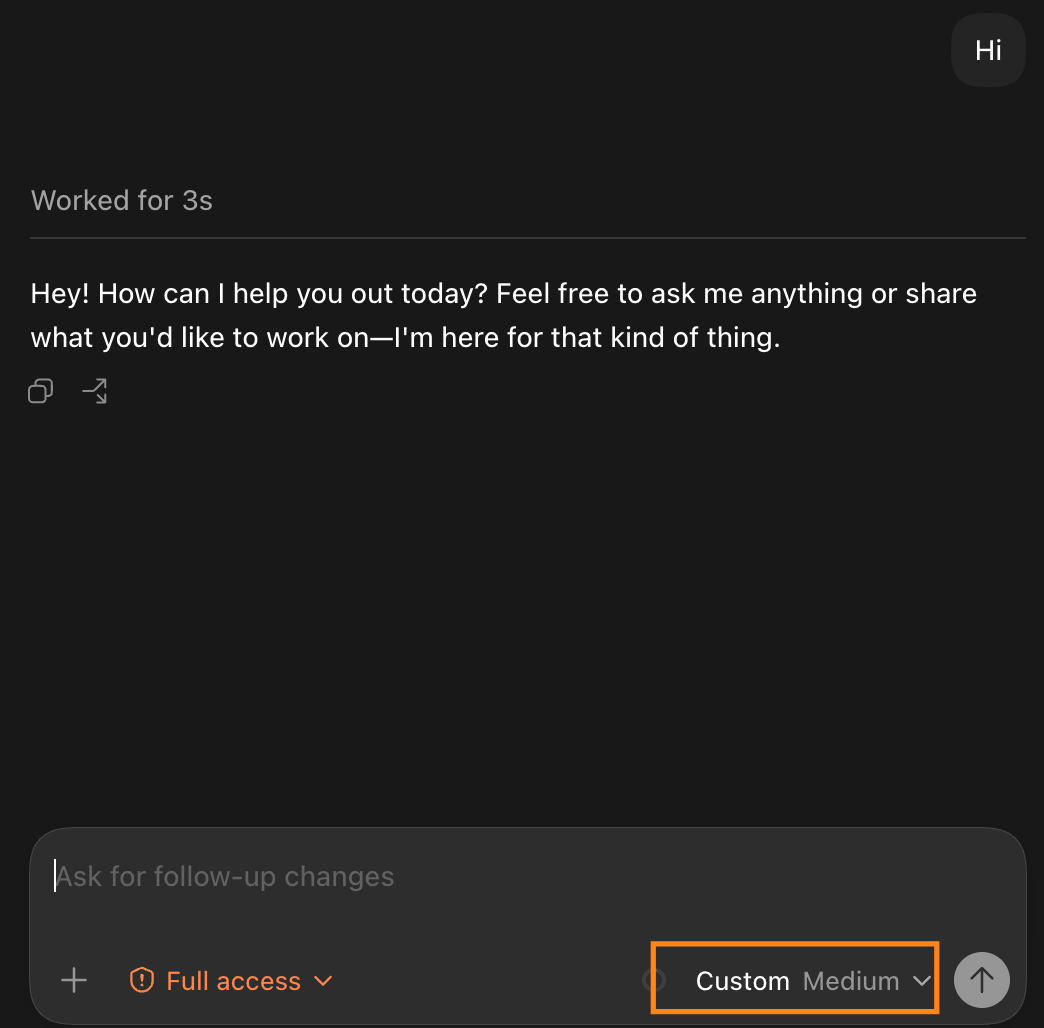
Codex App with Ollama:
Ollama can connect with the Codex Mac app, as well as the Codex terminal.
brew install ollama          # macOS
curl -fsSL https://ollama.com/install.sh | sh   # Linux

# pull the model

ollama pull qwen3.5:4b
Once you’ve pulled the model, start the Codex app with,
ollama launch codex-app

# If you have more than one model pulled locally, point it at the one you want
ollama launch codex-app --model qwen3.5:4b
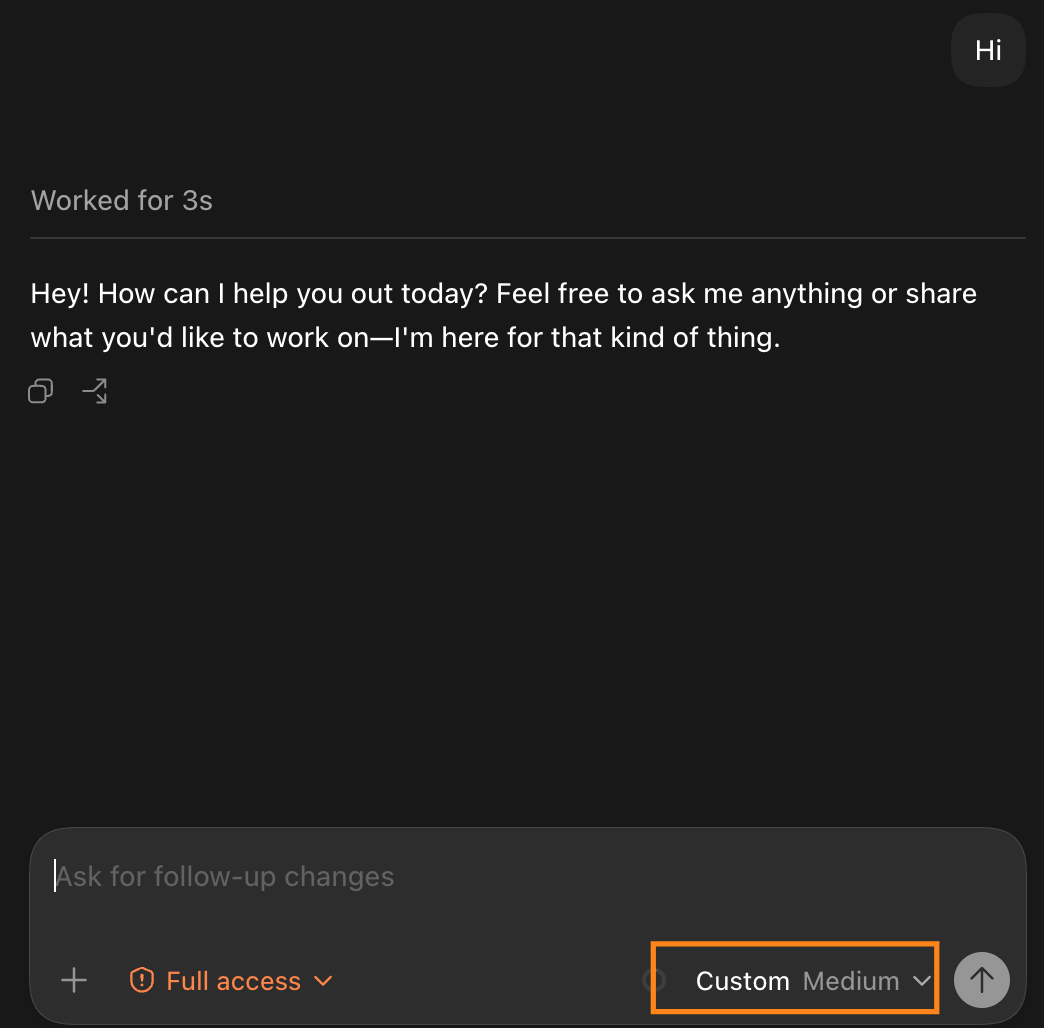
This opens the Codex app already pointed at your local model.
To switch back to your previous codex setup, run,
ollama launch codex-app --restore
Ollama restores your old settings, and saves a backup under ~/.ollama/backup/codex-app/ before it changes anything.
Note: Use a model that supports tool calling, since Codex depends on tool calling for everything it does. For example, gemma3:4b does not support tools at all, and it will fail the moment Codex tries to use one.
Codex CLI with Ollama
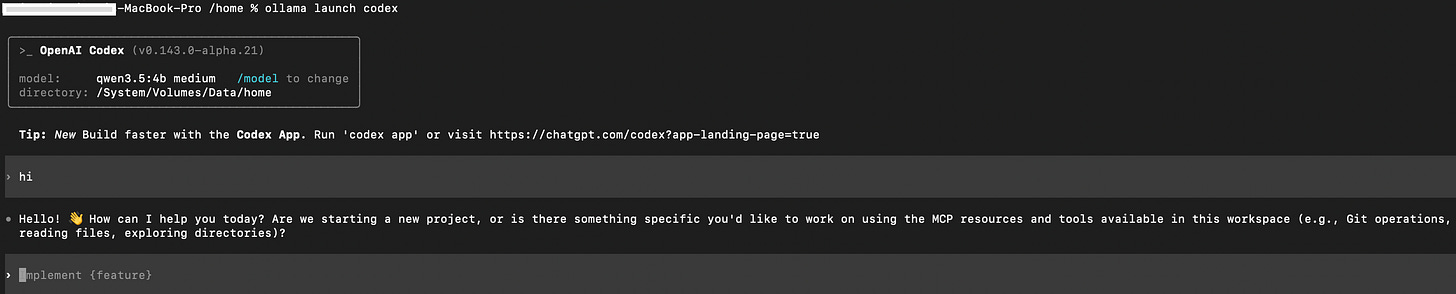
Ollama connects to the Codex CLI too. Once you have pulled the model, you can launch codex cli with below commands.
ollama launch codex

# If you have more than one model pulled locally, point it at the one you want
ollama launch codex --model qwen3.5:4b

# You can also skip the launcher and use the --oss flag directly,
codex --oss -m qwen3.5:4b
Profile based setup
You can also do a profile based setup to connect ollama with codex cli.
Create ~/.codex/ollama-launch.config.toml.
model = "gpt-oss:120b"
model_provider = "ollama-launch"
model_catalog_json = "/Users/you/.codex/model.json"

[model_providers.ollama-launch]
name = "Ollama"
base_url = "http://localhost:11434/v1/"
wire_api = "responses"
Then run this,
codex --profile ollama-launch
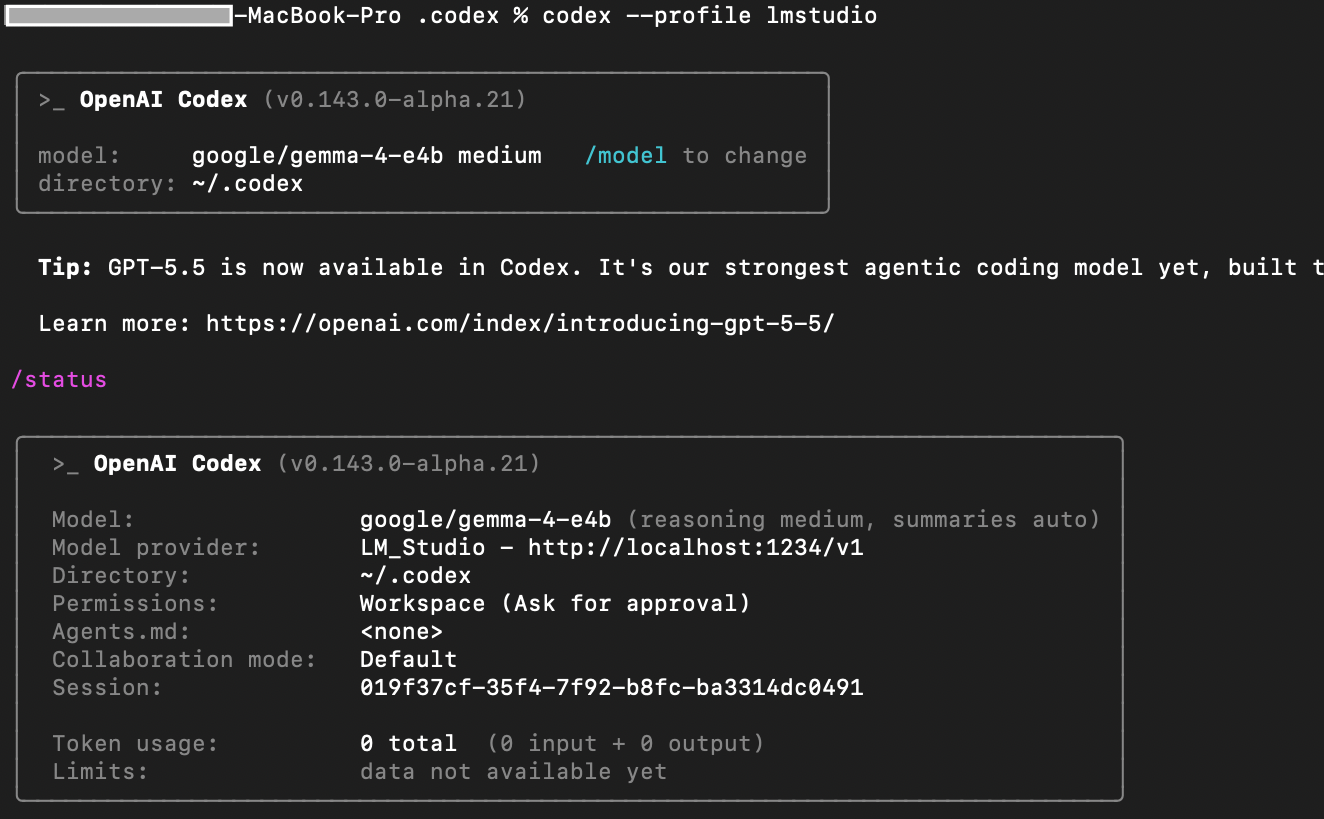
Codex CLI with LM Studio:
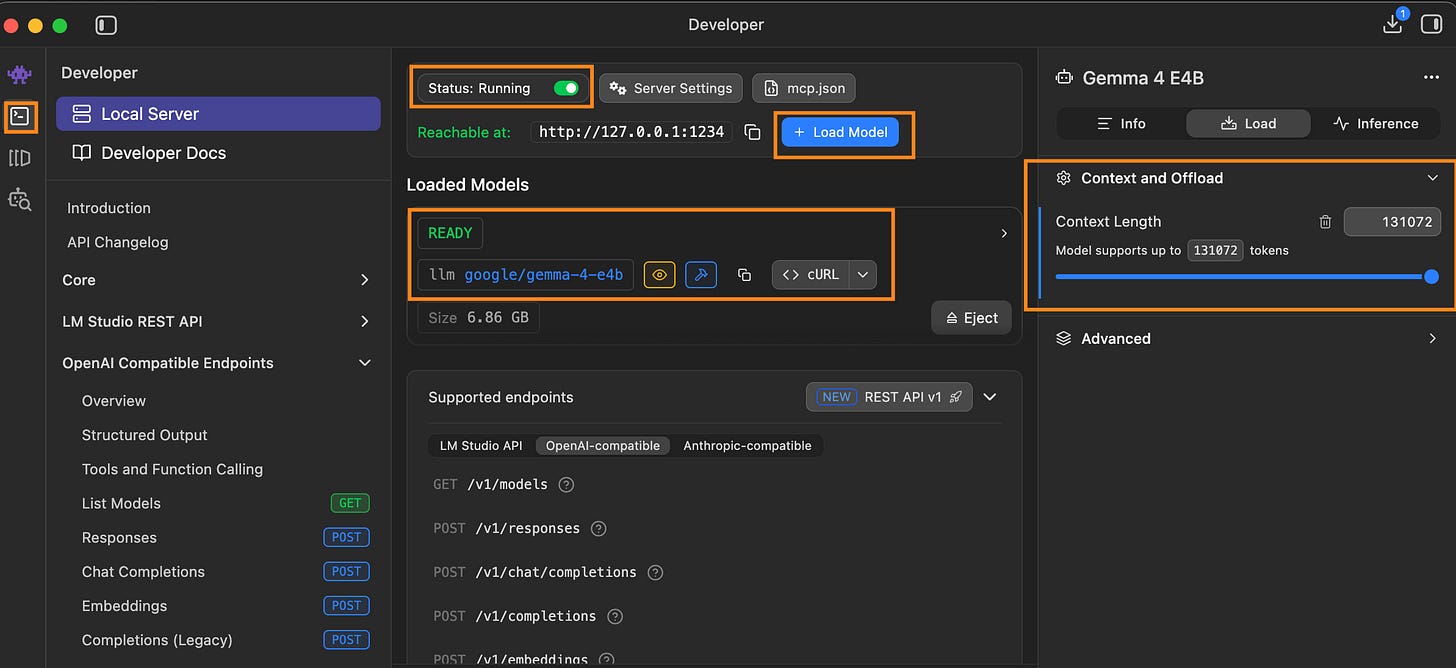
LM Studio gives you a simple interface for downloading and running models.
Once installed, you will be asked to download a model. Choose the one you want.
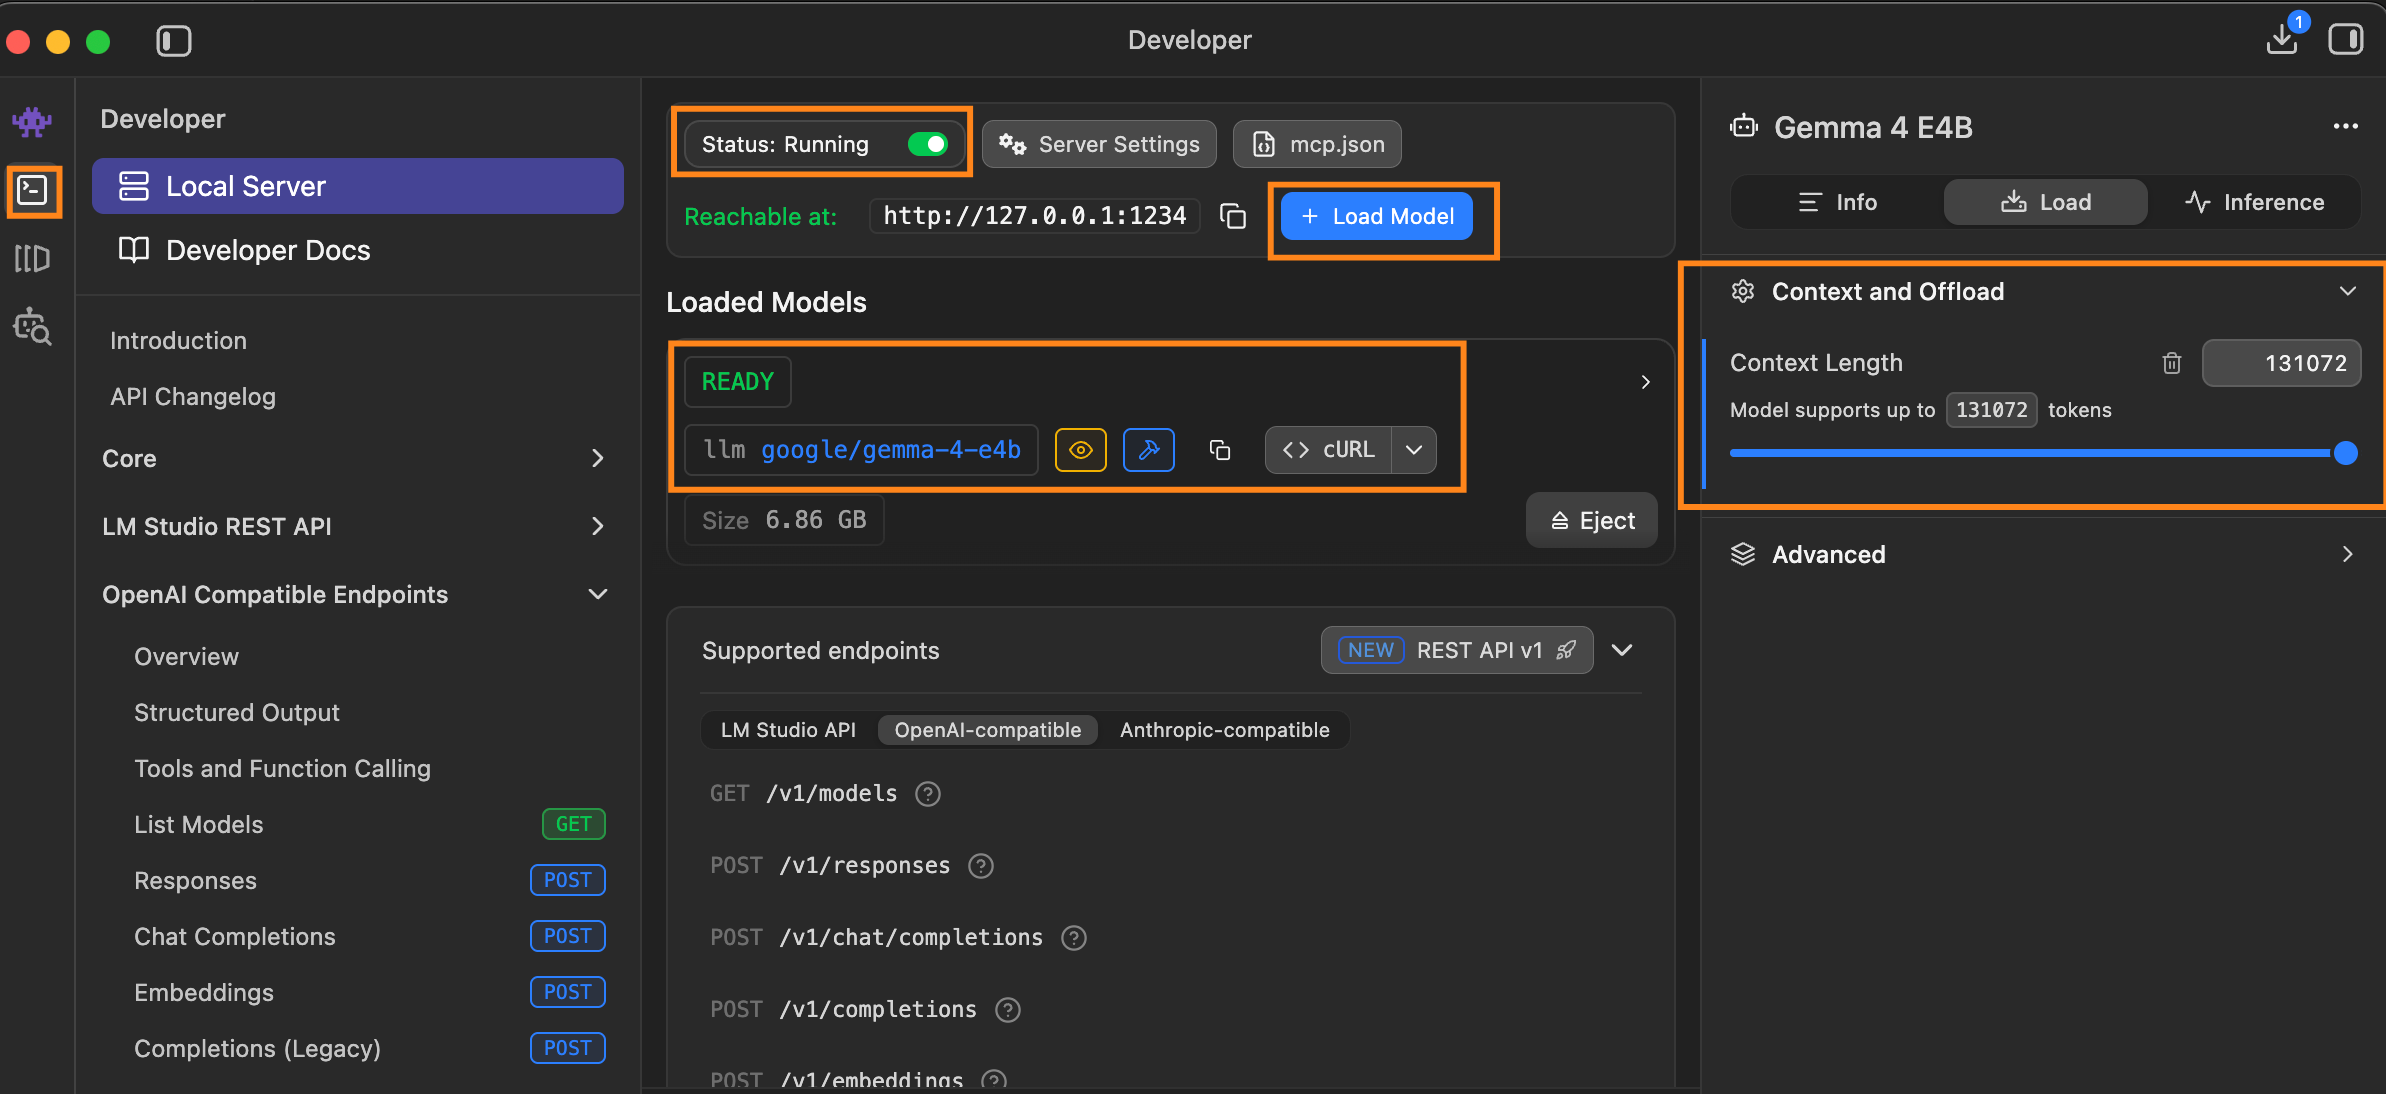
Go to the Developer tab. Before loading the model, check the context length. LM Studio often sets this low by default, sometimes 8192. Increase it to 32k or higher, if your machine can handle it. Codex adds tool definitions and instructions to every message behind the scenes, on top of what you actually type, so a small context window fills up fast.
Load the model, and turn the server on. Confirm the status shows as running.
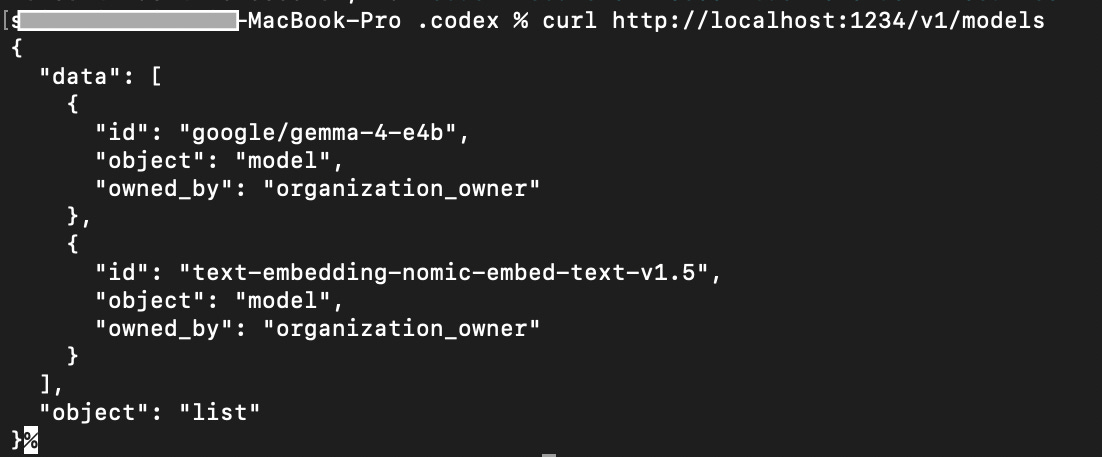
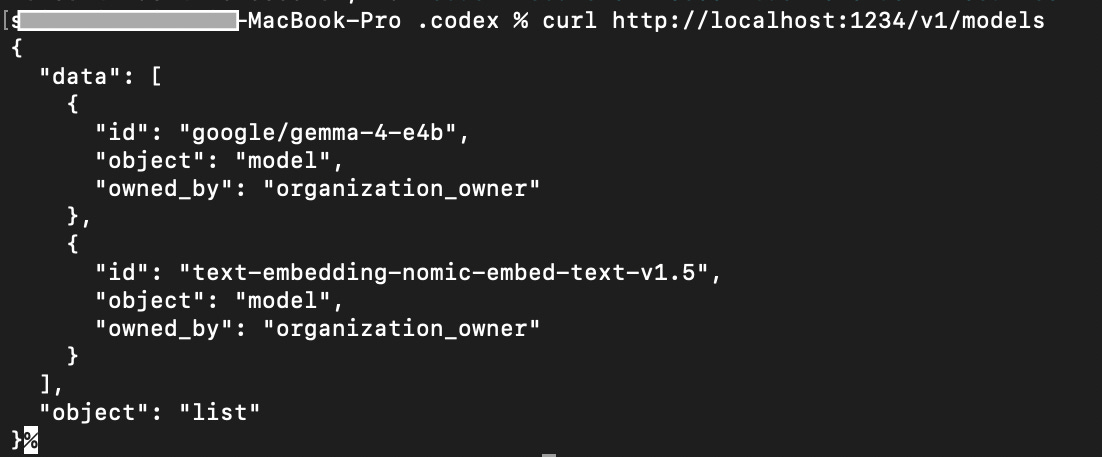
Before touching Codex, check what actually loaded:
curl http://localhost:1234/v1/models
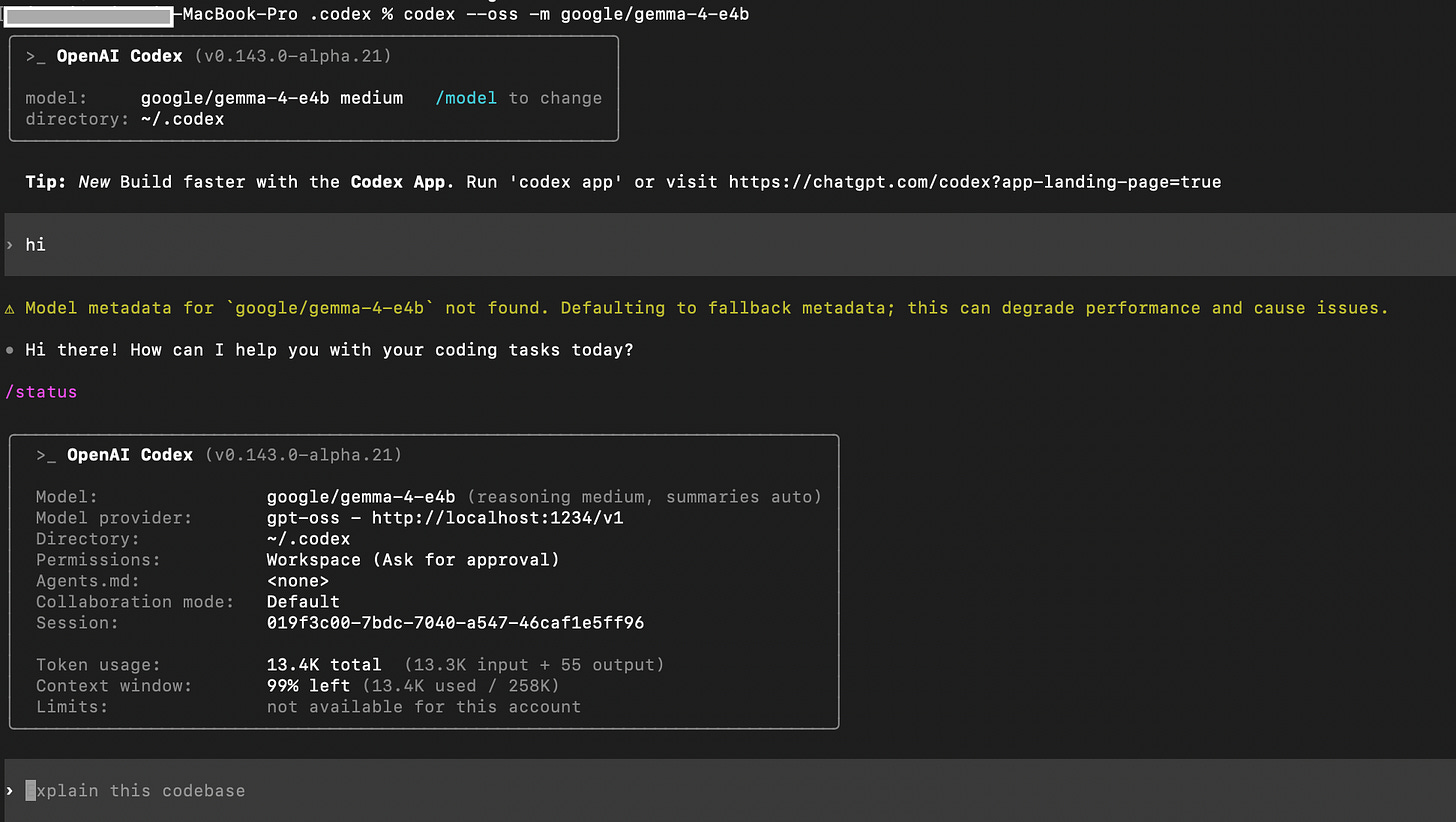
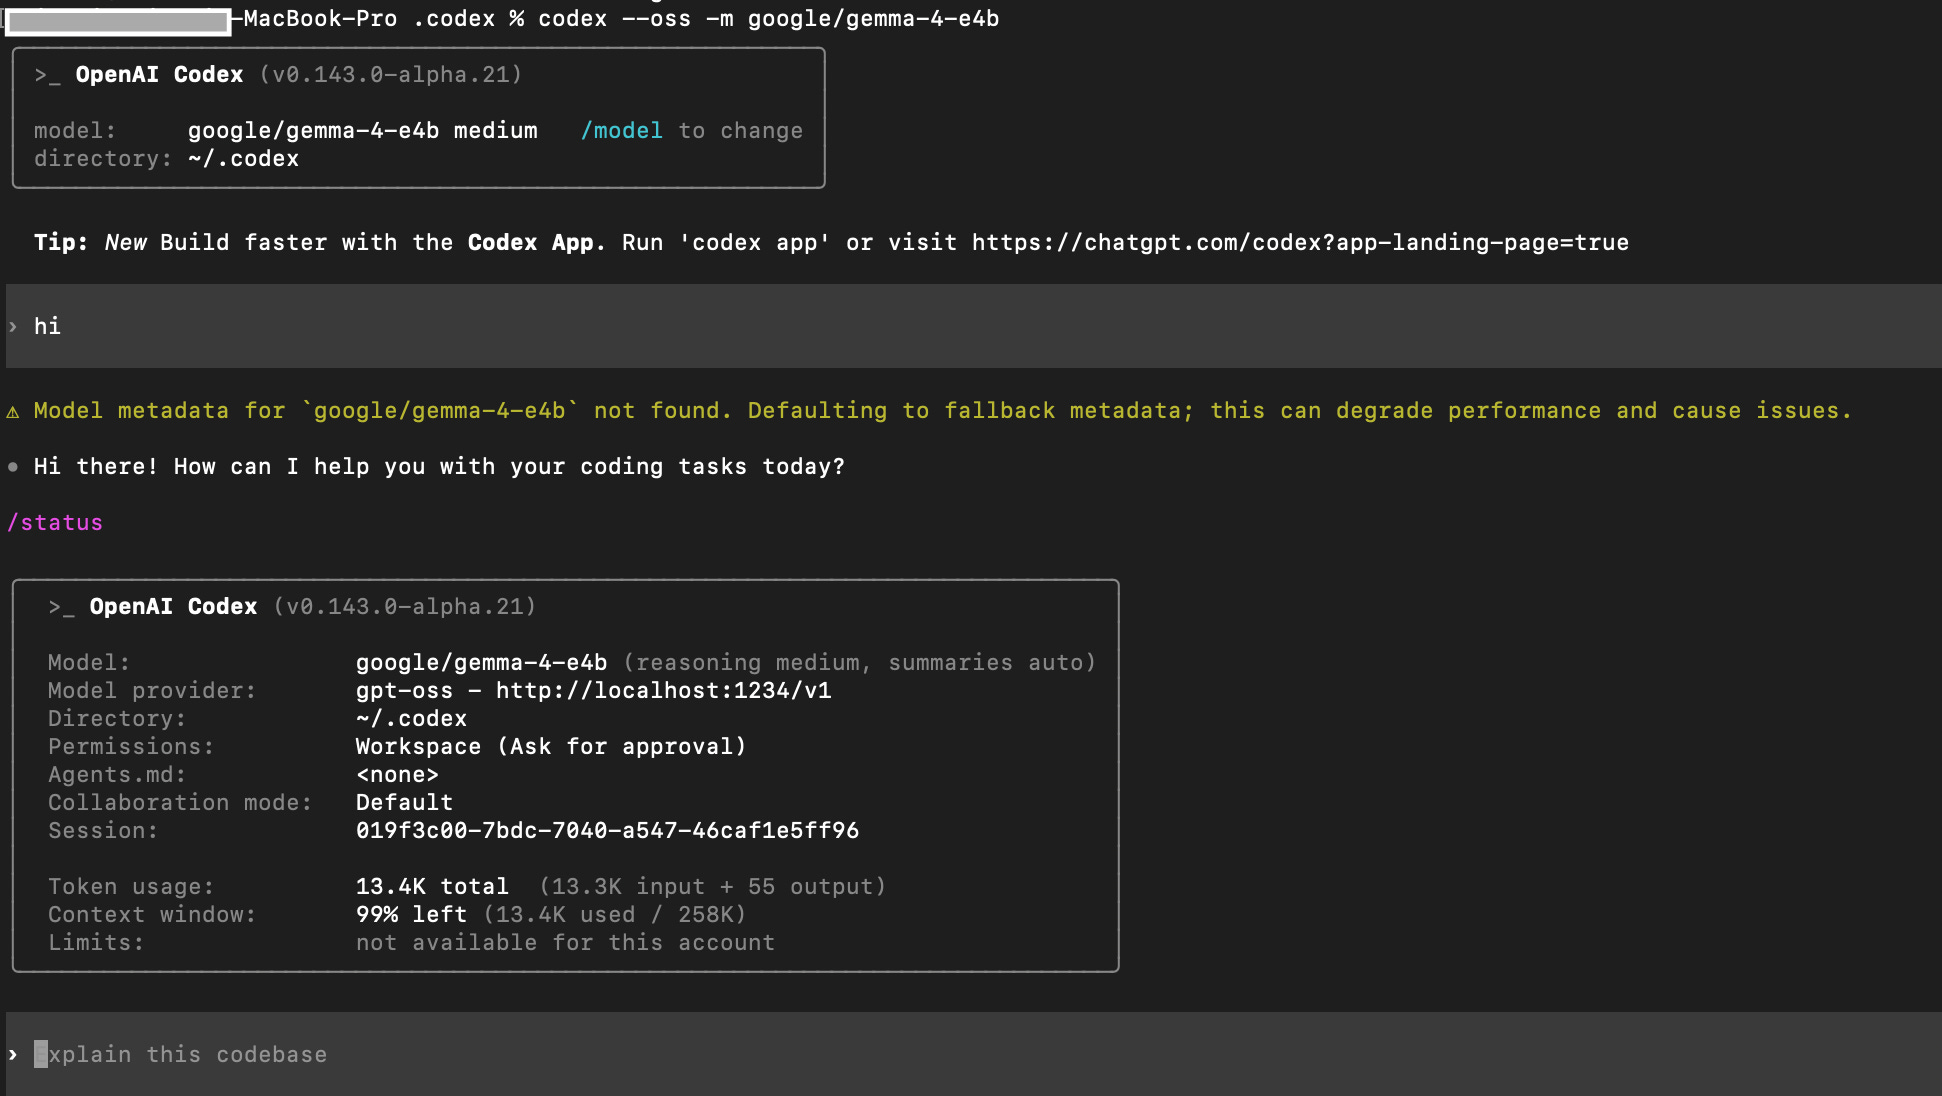
Now connect Codex. It connects a local model with the --oss flag, and use -m to pick a specific model.
codex --oss -m google/gemma-4-e4b
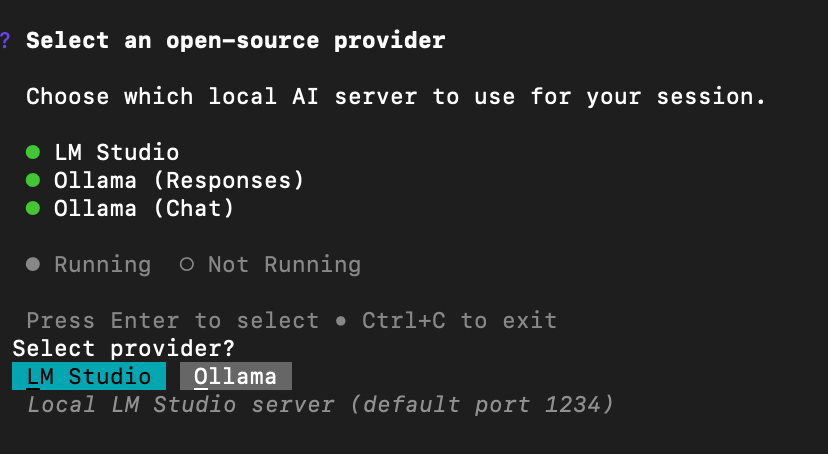
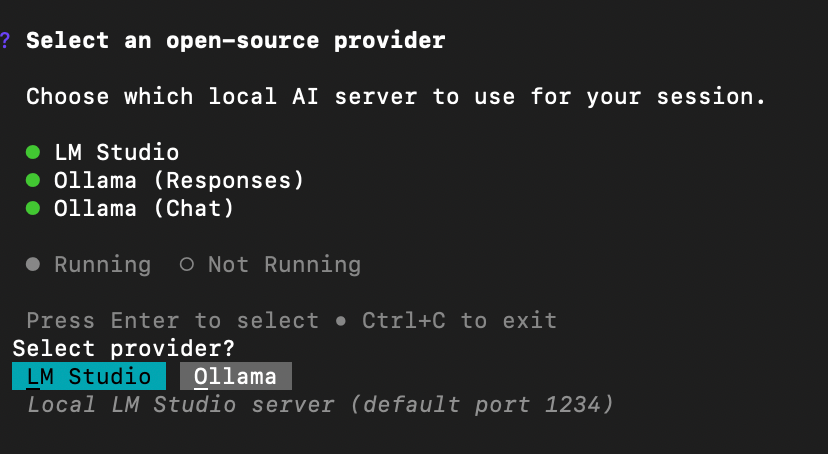
If you have more than one local server running at the same time, running codex --oss shows a picker, asking which one to use. Select the one you want, and it connects to that.
Profile based setup
If you want this LM Studio setup saved as a profile, add this to ~/.codex/config.toml. Name the provider lmstudio_local. If you name it just lmstudio, Codex will reject it, that name is already reserved for its own internal use.
Some models use chat templates with rules that llama.cpp doesn’t fully support, and the server will reject every message when that happens. Check this before committing to a model, so you don’t spend time debugging something that was never going to work.
Find the actual file path once the download finishes.
ls -lh ~/.cache/huggingface/hub/models--unsloth--gemma-4-e4b-it-GGUF/snapshots/*/
Start the server. --jinja matters here, it's what turns on tool calling, and Codex needs that to work at all.
model_provider = "openrouter"
model = "z-ai/glm-5.2"
Set your API key, then run Codex.
export OPENROUTER_API_KEY="your_key_here"
Run Codex with this profile.
codex --profile openrouter
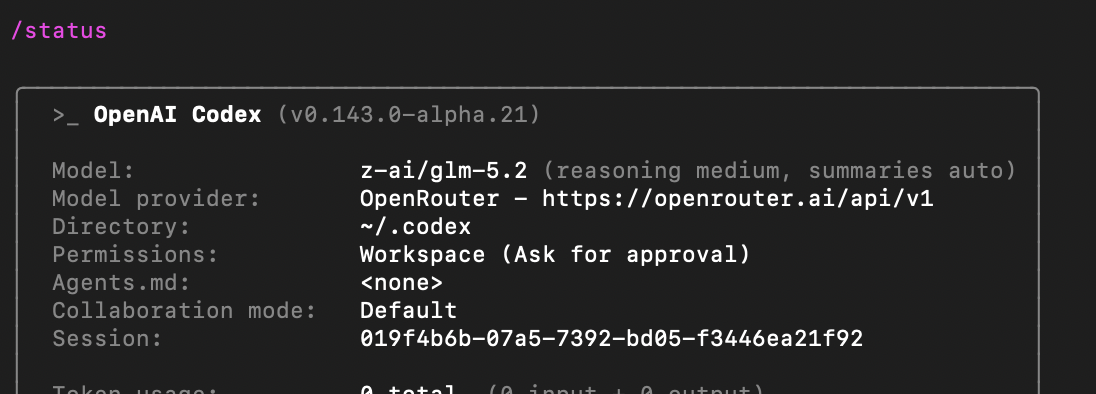
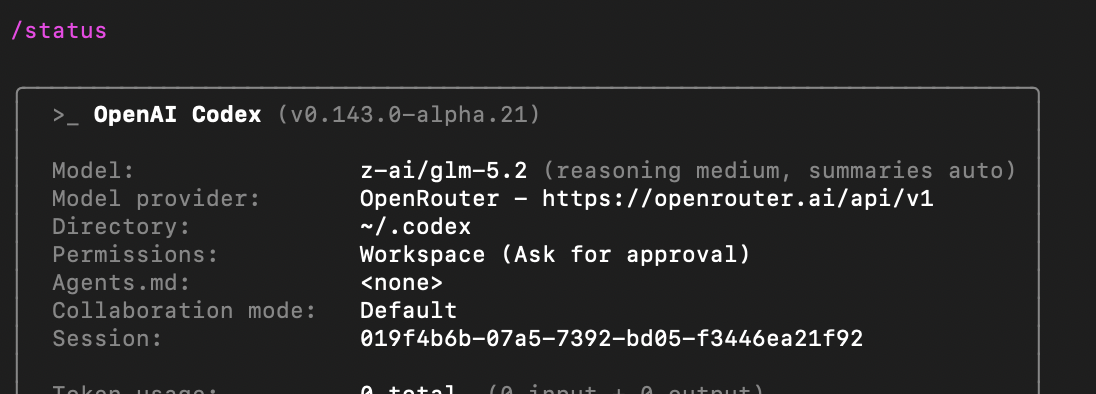
Check with /status, you should see openrouter listed as the model provider.
4. Four points to remember while integrating custom models
Only wire_api = "responses" works now. Codex removed wire_api = "chat" support in February 2026. If an old tutorial has you set wire_api = "chat", Codex won't start.
Three provider names are reserved: openai, ollama, and lmstudio. You can't use these under [model_providers.x], even for your own custom setup. Use something else, like lmstudio_local.
Always set your provider and API keys in ~/.codex/config.toml, your personal config file. Never in a .codex/config.toml sitting inside a project folder, Codex won’t use them from there anyway.
The model name has to match your server exactly, same spelling, same case. Check it with curl http://localhost:PORT/v1/models, and copy the name from there instead of typing it from memory.
Conclusion
We covered how to connect local models and custom models to Codex.
Now you have the option of running local models in your coding agents. If you have enough system requirements, try different models for different tasks. Open source models hold up well for everyday coding work. Running them yourself means you control the cost, and your code stays right there on your machine.
Try Codex with custom models! Happy building!
Thanks for reading Dev Shorts! This post is public so feel free to share it.