

OpenAI recently hosted their DevDay 2025 and announced a bunch of new tools. The highlights included Apps SDK, AgentKit, and Sora 2 in the API, and more. But the one that really caught my attention was the Apps SDK.
It’s not just another API or plugin system. It’s a framework to build apps that run inside ChatGPT.
These apps are mini tools with their own UI, powered by an MCP server. ChatGPT can call them directly, and their responses show up right in the chat.
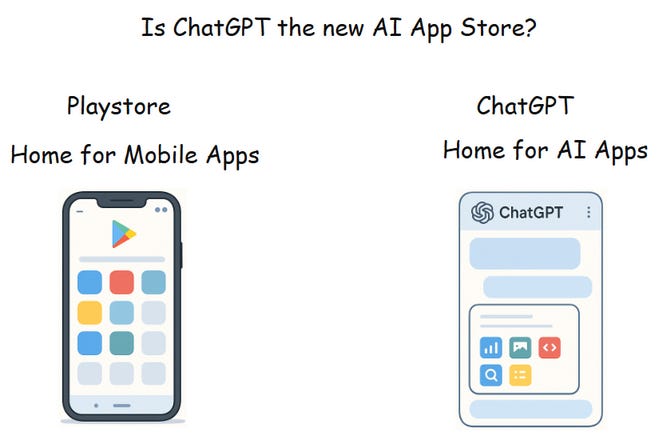
If the App Store is a home for mobile apps, ChatGPT is becoming a home for AI apps. Apps meet people exactly when they need them. No switching tabs, no leaving the conversation.
In this post, I’m going to build an App using Apps SDK.
We’ll cover these topics,
What is Apps SDK
Why Apps SDK
How to build an app for ChatGPT
Benefits of ChatGPT apps
The app we’ll build is a simple API Tester. Like Postman, but inside ChatGPT. Enter an endpoint, hit send, and see the result right in the chat.
1. What is Apps SDK
The Apps SDK is an Open Standard built on Model Context Protocol.
Apps SDK = MCP server + UI
It is used to build apps for ChatGPT. These apps are MCP server logic with a custom UI, all running within ChatGPT.
Like any MCP server, you define your tool and run the server. But with Apps SDK there’s one extra step. You add a UI layer that users can see and interact with directly. This UI talks to ChatGPT through a simple bridge called window.openai.
2. Why Apps SDK
ChatGPT is great at conversation. But not everything can be done inside chat.
Need to edit a design? You switch to Figma. Want to organize your notes? You open Notion.
Apps SDK brings those tools right into ChatGPT.
We know MCP connects AI systems with external tools. Apps SDK takes it further. It combines MCP with UI, so the tools you connect to ChatGPT come with their own interface.
Your app runs inside the conversation, not in a separate tab. Everything happens where the conversation is.
3. How to build an App using Apps SDK
Step 1: Identify the use case
Identify what your app should do.
I’m building an API Tester App. A simple tool to test APIs, like Postman, but inside ChatGPT.
ChatGPT can’t test APIs on its own. This app fills that gap.
Step 2: Choose an SDK
Apps SDK works with both Python and TypeScript.
The Python SDK includes FastMCP for quick setup. If you’re already working with Node or React, go with TypeScript SDK instead.
I’m using Python SDK for this API Tester App.
The official Apps SDK examples include full sample apps built in both Python and Node. You can check them out to understand the complete setup and structure
Step 3: Set up the project
Let us set up the project. The folder structure should look like this:
 API-Tester/
  ├── static/
  │   ├── api-tester.css
  │   └── api-tester.js
  ├── pyproject.toml
  └── server.py
Add dependencies in pyproject.toml
dependencies = [
      “fastmcp>=0.1.0”,
      “httpx>=0.27.0”,
      “uvicorn>=0.30.0”,
      “starlette>=0.37.0”
  ]
Install them:
pip install -e . The
server.pyfile holds your MCP server tools. The UI components (CSS and JavaScript) are in the“static”folder and get embedded inline by“server.py”when serving the widget to ChatGPT.
Understanding The App Flow
Before we dive into code, here’s how Apps SDK works. Every app needs three things
Register your tool
Handle tool execution
Register the UI
Now let’s build each piece in server.py.
Step 4: Build server.py
Register your tool
from mcp.server.fastmcp import FastMCP
import mcp.types as types

mcp = FastMCP(name=”api-tester”)

@mcp._mcp_server.list_tools()
async def _list_tools():
    return [
        types.Tool(
            name=”run_api_test”,
            description=”Test an API endpoint”,
            inputSchema={...},  # Define method, url parameters
            _meta={
                “openai/outputTemplate”: “ui://widget/api-tester.html”,
                “openai/widgetAccessible”: True,
            }
        )
    ]
The _meta field tells ChatGPT which UI to render.
Handle tool execution
import httpx

async def _call_tool_request(req: types.CallToolRequest):
    method = req.params.arguments.get(”method”)
    url = req.params.arguments.get(”url”)

    async with httpx.AsyncClient() as client:
        response = await client.request(method, url)

    return types.ServerResult(
        types.CallToolResult(
            content=[types.TextContent(type=”text”, text=f”Status: {response.status_code}”)],
            structuredContent={
                “status”: response.status_code,
                “headers”: dict(response.headers),
                “body”: response.text
            }
        )
    )

# Register the handler
mcp._mcp_server.request_handlers[types.CallToolRequest] = _call_tool_request
The structuredContent is what your UI receives as window.openai.toolOutput.
Register the UI
@mcp._mcp_server.list_resources()
async def _list_resources():
    return [types.Resource(uri=”ui://widget/api-tester.html”, mimeType=”text/html+skybridge”)]

async def _handle_read_resource(req: types.ReadResourceRequest):
    if req.params.uri == “ui://widget/api-tester.html”:
        html = “”“
        <div id=”api-tester-root”></div>
        <style>/* your CSS */</style>
        <script>/* your JS */</script>
        “”“
        return types.ServerResult(
            types.ReadResourceResult(
                contents=[types.TextResourceContents(
                    uri=”ui://widget/api-tester.html”,
                    mimeType=”text/html+skybridge”,
                    text=html
                )]
            )
        )

# Register the handler
mcp._mcp_server.request_handlers[types.ReadResourceRequest] = _handle_read_resource
Build the UI
Your JavaScript receives data via window.openai.toolOutput.
// Get the data
const toolOutput = window.openai?.toolOutput;

// Display results
if (toolOutput) {
    document.getElementById(’status’).textContent = toolOutput.status;
    document.getElementById(’body’).textContent = toolOutput.body;
}

// Listen for updates
window.addEventListener(’openai:set_globals’, () => {
    const data = window.openai?.toolOutput;
    // Update UI with new data
});
Step 5: Run the App locally
app = mcp.streamable_http_app()

if __name__ == “__main__”:
    uvicorn.run(app, host=”0.0.0.0”, port=8000)
Run locally and expose with ngrok. You need HTTPS for ChatGPT to connect. Ngrok provides that temporarily. For permanent deployment, we’ll use Render, which is coming next.
python server.py
ngrok http 8000  # Get HTTPS URL
Step 6: Deploy to Render
Go to Render and create a new Web Service
Connect the GitHub repository
Set the build command:
pip install -e .Set the start command:
python server.pyClick “Create Web Service”
Once deployed, Render gives you an HTTPS URL like below.
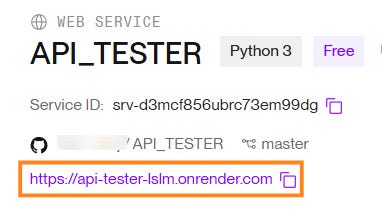
Now it’s time to connect the API Tester app with ChatGPT.
Step 7: Connect to ChatGPT
Enable Developer Mode in ChatGPT
Settings → Apps & Connectors → Advanced Settings→ Dev mode
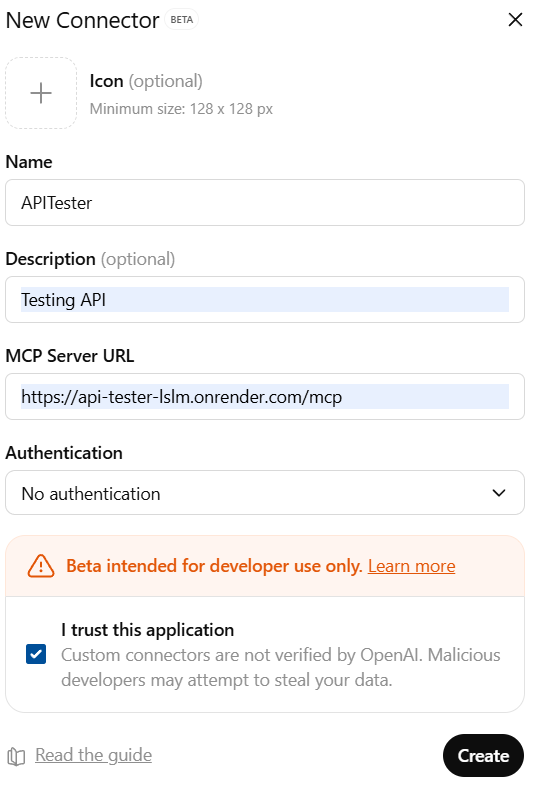
Once Dev Mode is enabled, Create a new connector with your HTTPS URL
Step 8: Test the App
Once you create the connector, you can add the app in the chat and start using it. I was able to test the API Tester app successfully.
We have just seen the code snippets. You can check the complete working code of this API Tester app in this GitHub repository.
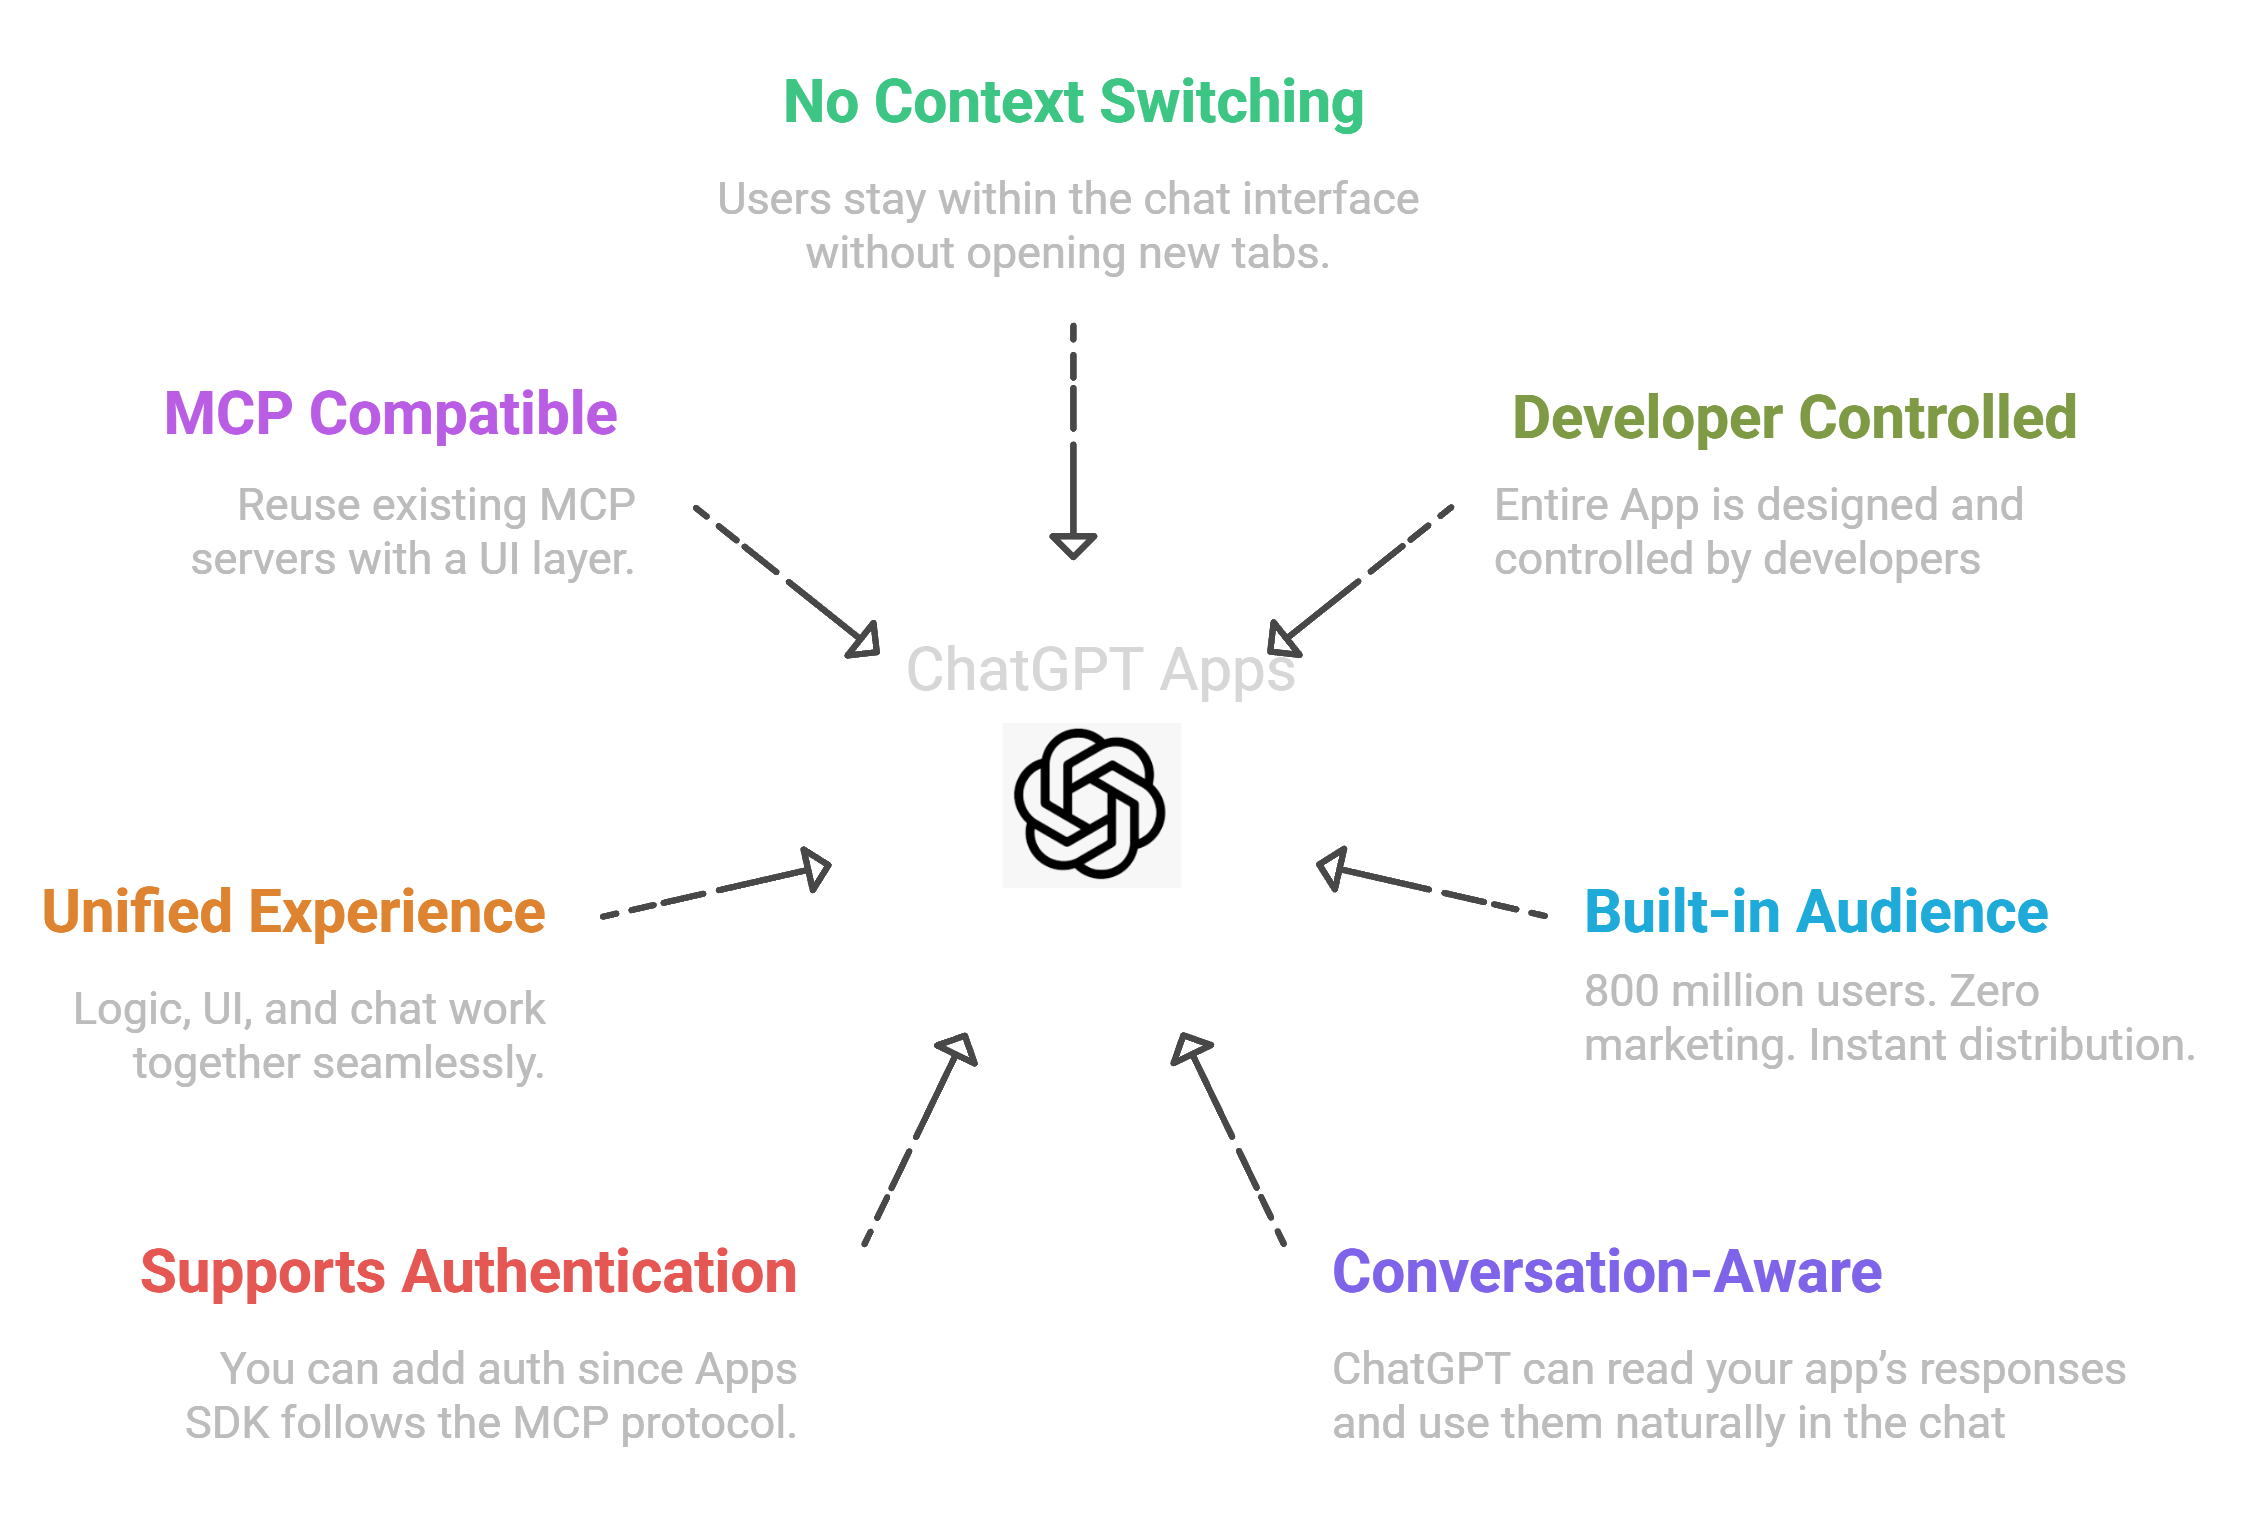
4. Benefits of ChatGPT Apps
What makes ChatGPT apps different? Here are the key benefits.
What’s next
We discussed about Apps SDK, and we built an app for ChatGPT.
The API Tester app uses a form-based UI. You can actually build the UI you want. Check out the official examples. They include maps, carousels, and video players.
Our app doesn’t have OAuth. But you can add it. we’ve already covered OAuth implementation for MCP servers in previous posts.
OpenAI has announced they’ll start accepting app submissions later this year. They’ll also share details on how developers can monetize their apps.
The app directory is coming. So, pick a real problem, build an app that solves it, and get ready to submit.
Apps SDK is still new. The best apps are yet to be built, and your app could be one of them.
Happy building!